Create a linux virtual machine
In this tutorial, you will
- Log in to http://openstack.cern.ch
- Set up a keypair
- Create a virtual machine
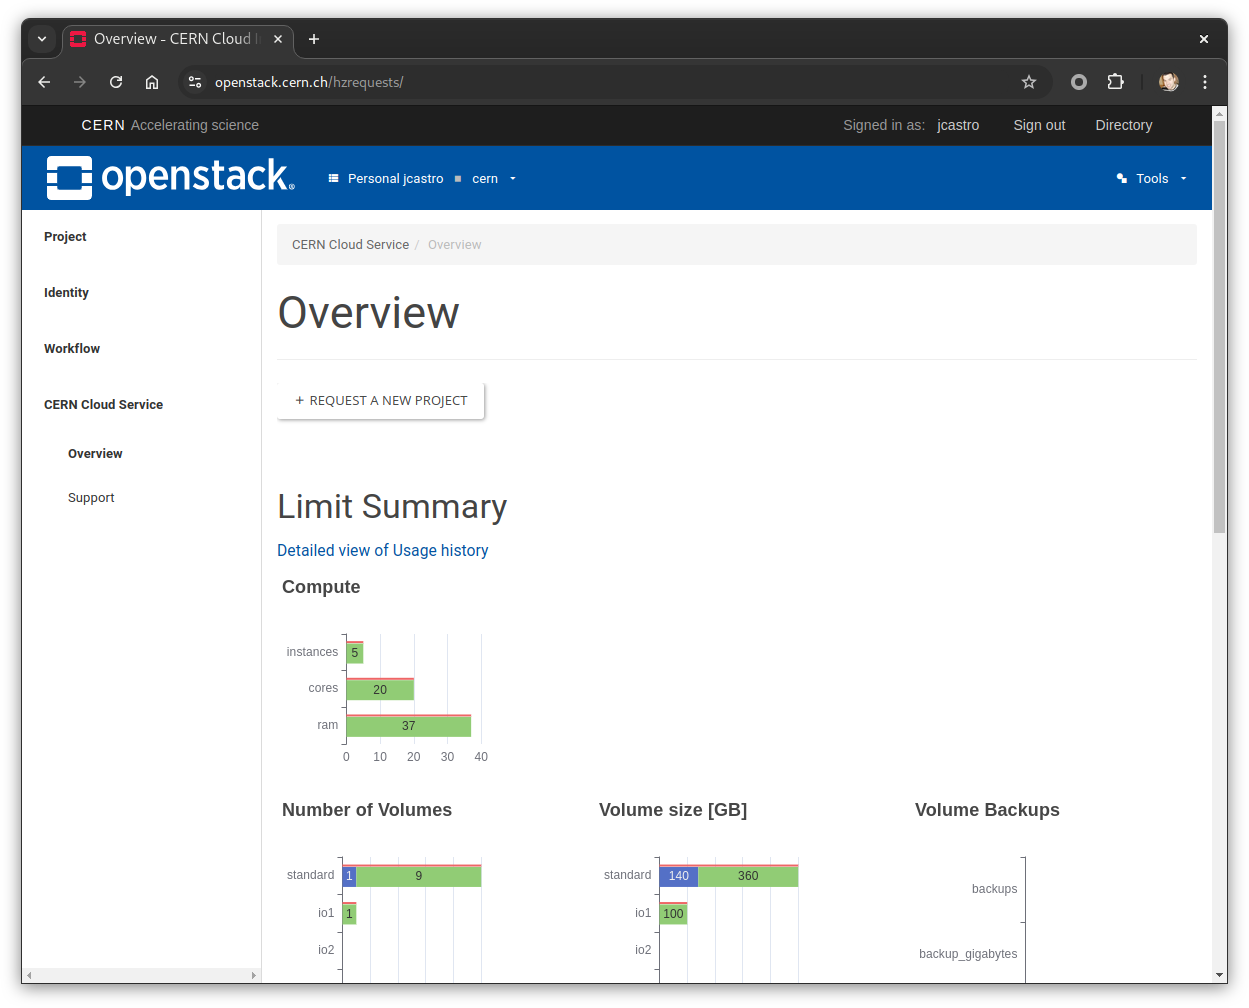
Accessing the web site
After Subscribing, go to the OpenStack dashboard at http://openstack.cern.ch.
The display should look as follows
Setting up a keypair
Keypairs are used to access virtual machines with ssh.
You can set up a keypair in a number of ways. The recommended approach is to use your credentials from an lxplus account with ssh.
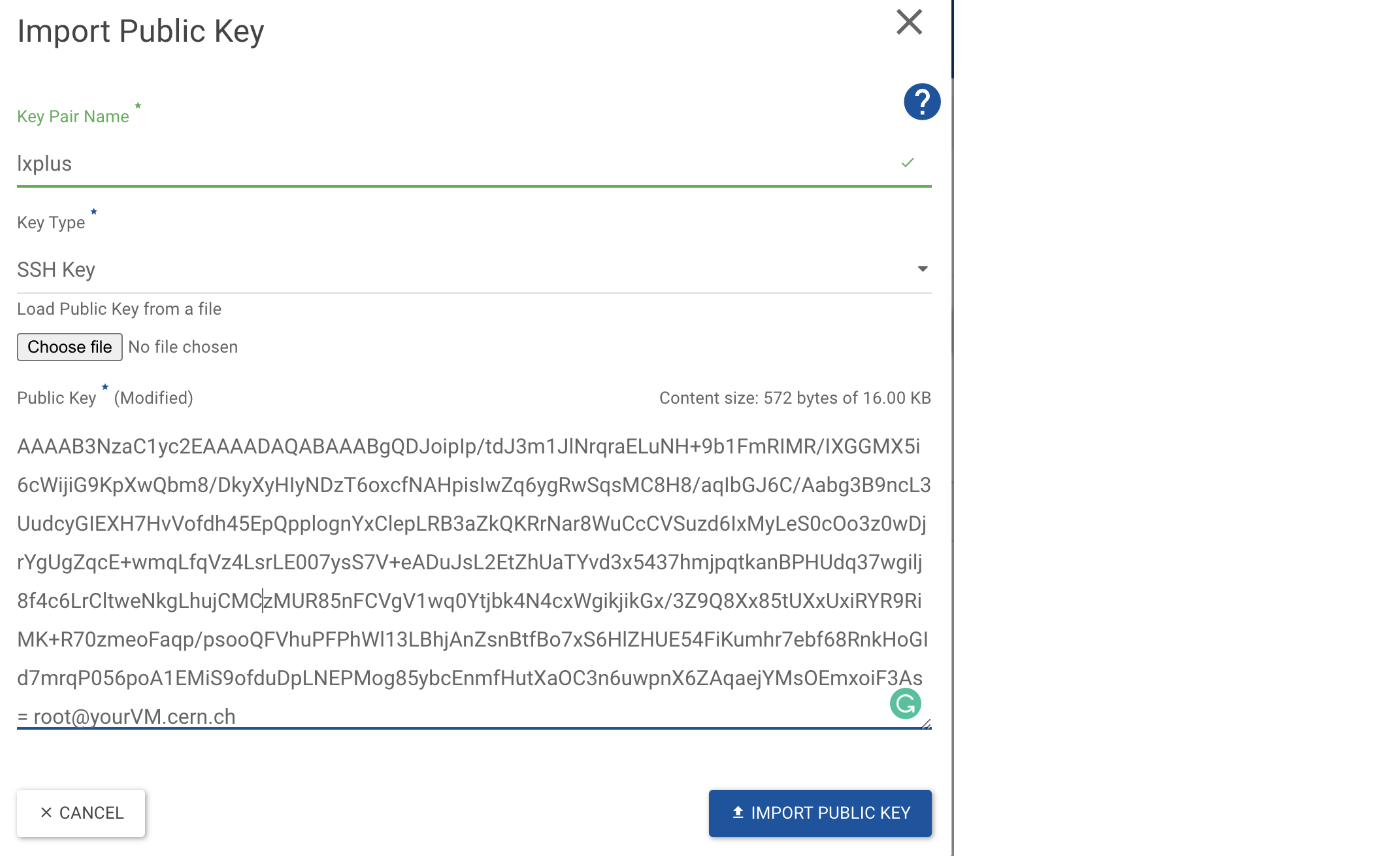
- Project -> Compute -> Key pairs from the menu
- Select the import public key button
- Enter lxplus for your keypair
- Enter the contents of
~/.ssh/id_rsa.pubfrom lxplus as your key
Creating a virtual machine
Once your key is defined, you can now proceed with creating a virtual machine.
- Select instances from the menu
- Select launch instance button
- Enter
- a hostname (you can choose it, such as timdoc143)
- the flavor (such as m2.small)
- the boot source should be image
- for the image, choose the image ALMA9 - x86_64
- for the key pair, choose the key created in the previous step
Follow the boot process
Note
Registration of your VM in the CERN Network database may take up to 10 minutes, and the first boot of the VM may take some time as well.
The boot process can be followed on the instances screen. Once the VM is in state ACTIVE, you should be able to open a console to follow it booting.
Log in using ssh
Once the console shows the login prompt, your VM is ready for use. From lxplus8, you can log in with ssh as follows