Create a Windows virtual machine
In this tutorial, you will
- Log in to http://openstack.cern.ch
- Create a Windows virtual machine and wait for it to build
- Log in to the Windows virtual machine using Remote Desktop
Glossary: * A volume refers to network attached external storage. It can have specific features, like size and speed
Notes:
- If you need more disk for the system drive than the available disk space offered in the flavor you can either
- create a volume and attach it as an extra drive, or
- boot your virtual machine from a volume directly.
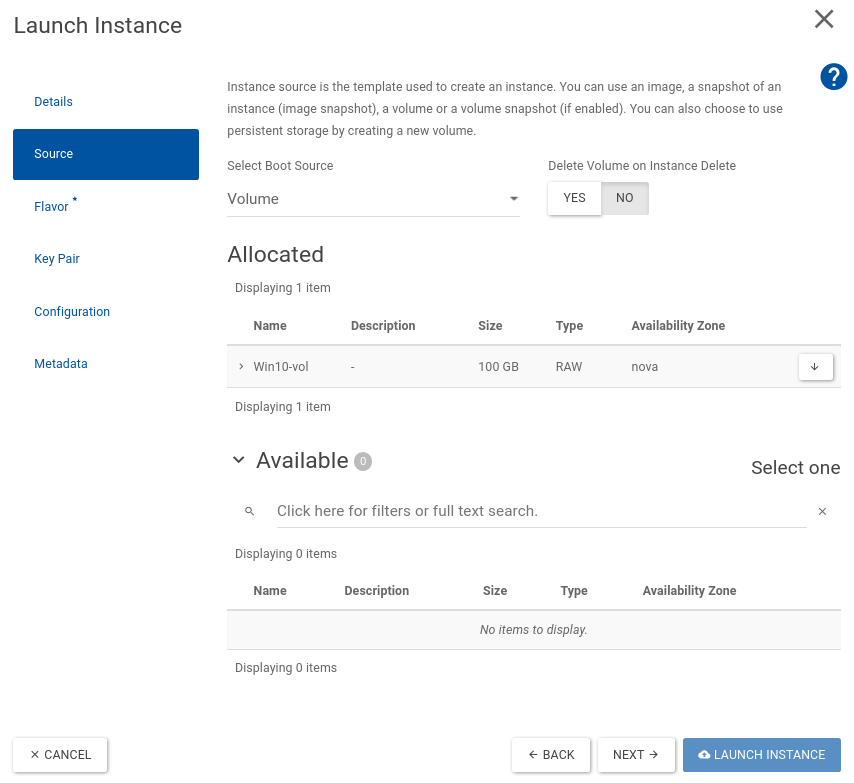
- The recommended method to create a Windows desktop virtual machine is boot from volume
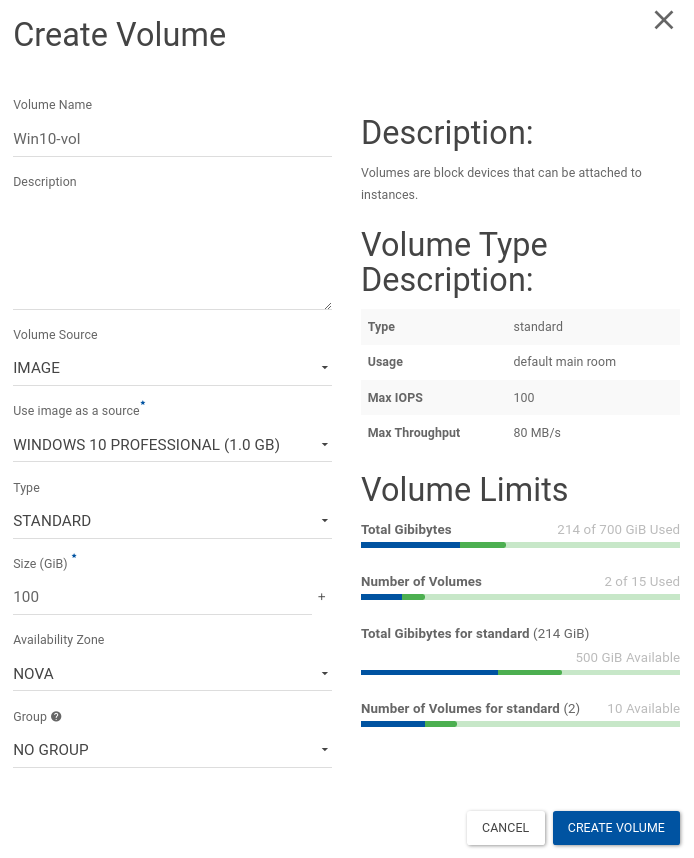
- To ensure smooth upgrade and maintenance of the system, select at least 100GB for the size of the volume
- This may represent the full quota for gigabytes on a personal project, if you need more space, please request a shared project and also request access to the io1 volume type.
Logging in
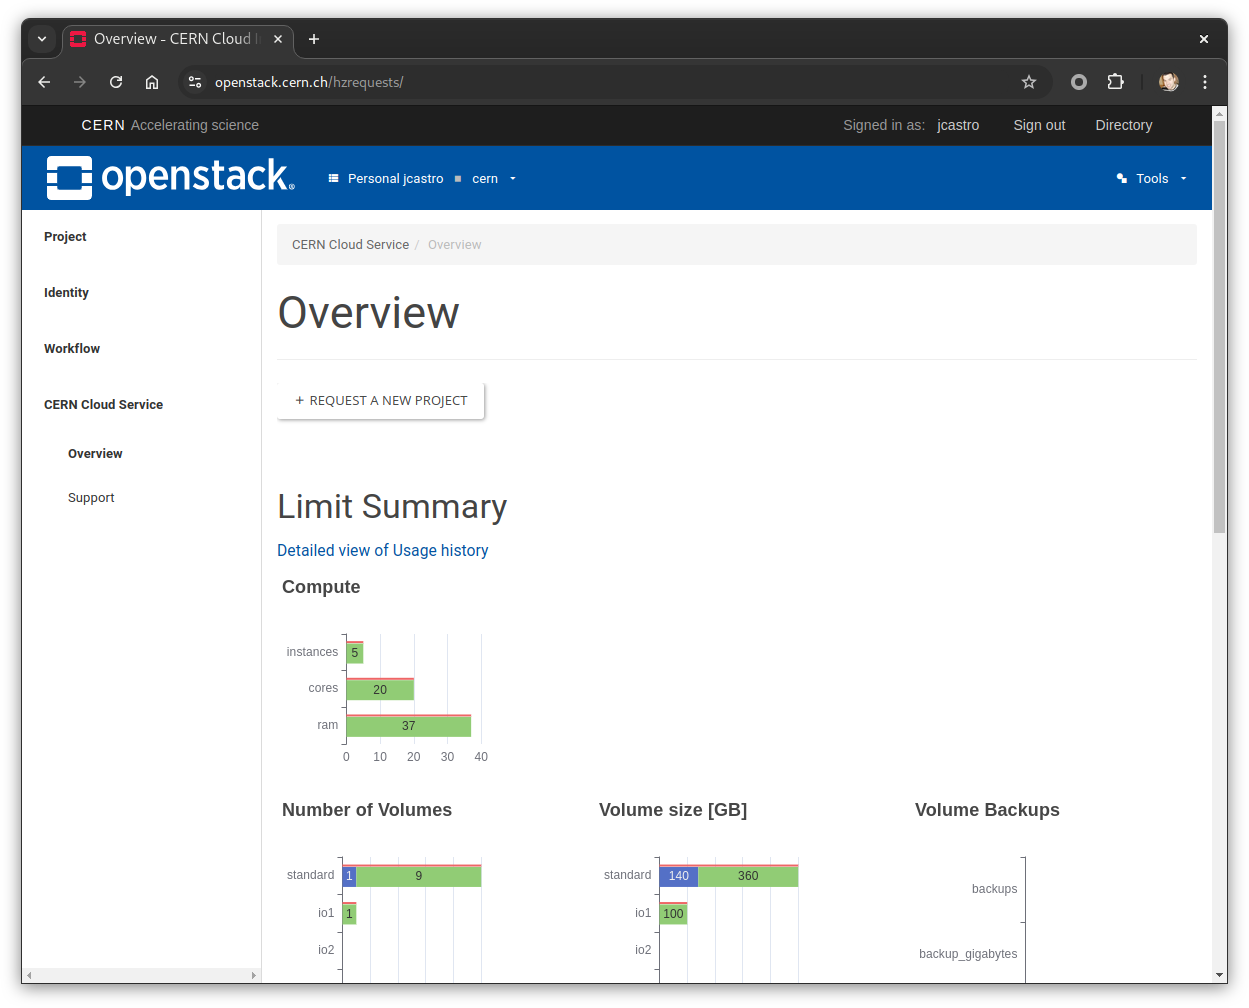
After Subscribing, go to the OpenStack dashboard at http://openstack.cern.ch.
The display should look as follows
Create a Windows 10 virtual machine
You can now proceed with creating a virtual machine.
- On the left side menu, click on Project. This will give you access to a submenu. Select Compute in there, and then Images.
- Check the latest Windows 10 image, click on the dropdown menu on the right and click on Create Volume
- Wait until the volume is in active state.
- Back to the left side menu, click again on Project, then select Volumes.
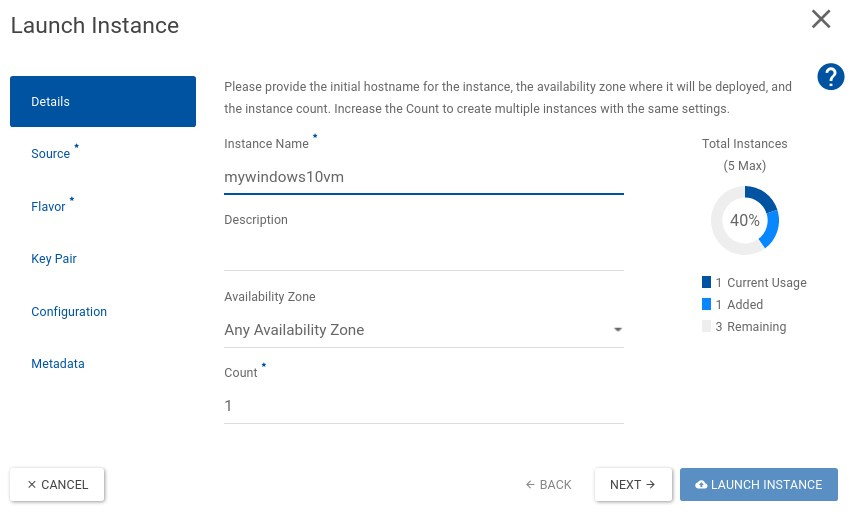
- Check for the volume you have just created, click on the dropdown menu on the right and click on launch as instance
- enter the hostname, keypair, flavor.
- Press launch
Accessing the graphical console
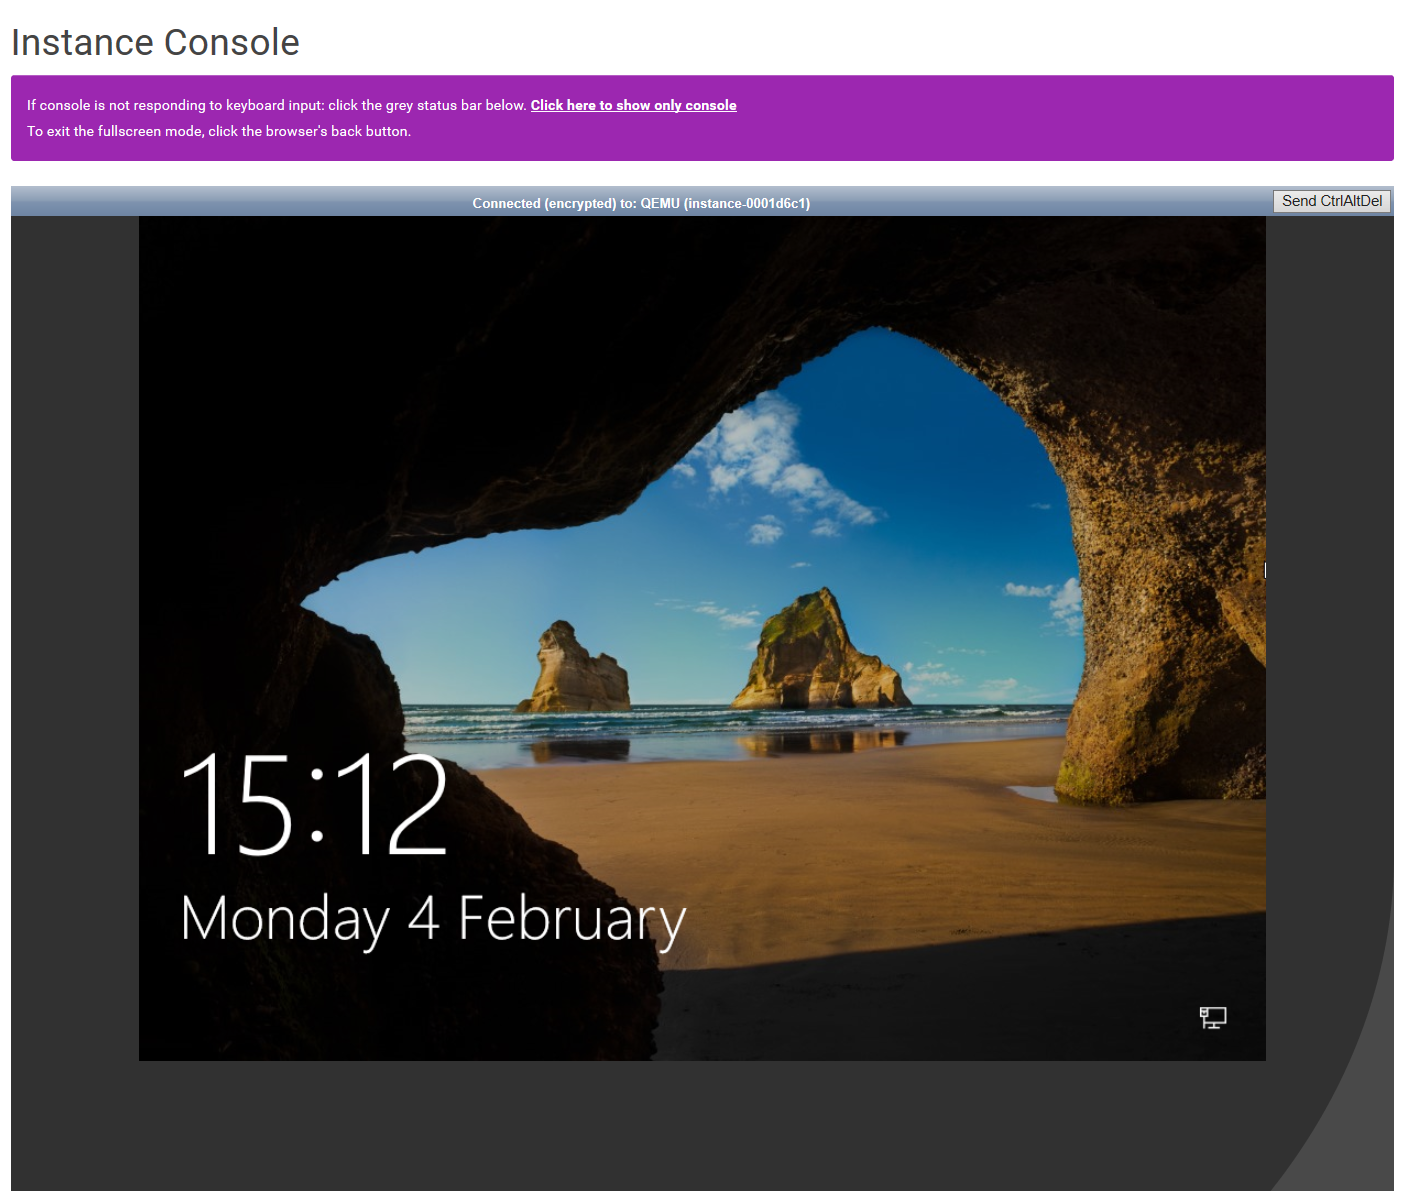
To follow the installation, you can access the graphical console using the browser once the VM is in status ACTIVE. It can take up to 15 minutes to reach this state.
The console is accessed by selecting the Instance Details for the machine and the tab 'Console'.
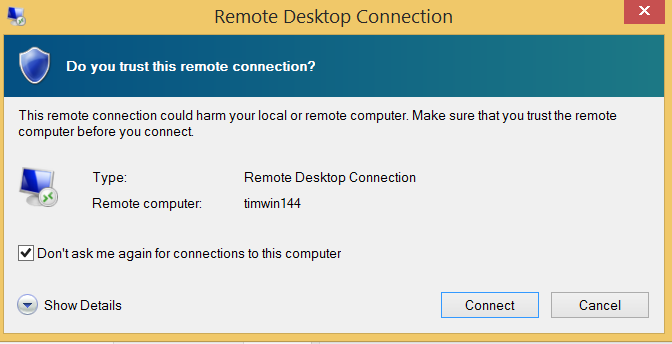
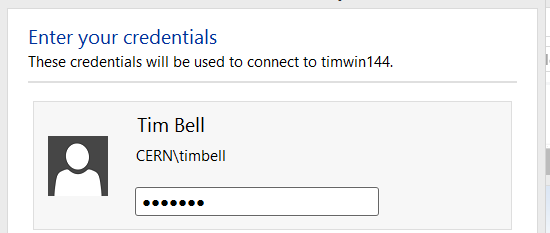
Remote desktop
When the build and the Windows installation steps have completed, you can access the console using the Windows Remote Desktop application.